
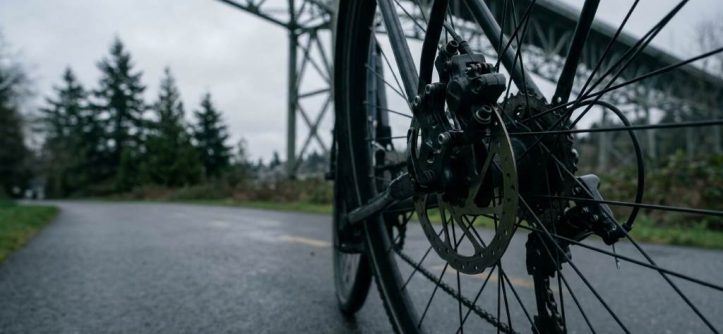
Fix dual brake dragging by checking both calipers, aligning the pads, and confirming free wheel rotation. On Seattle paths, small brake problems matter because wet pavement and frequent stops reduce your safety margin. At 15 mph, a bicycle travels roughly 22 feet every second. Therefore, even mild brake drag deserves attention before a longer ride. A properly adjusted 2 in 1 jogging bike trailer also needs predictable braking when attached.
Key Takeaways
- Check both brake systems before changing individual adjustments.
- Clean contaminated pads, rotors, rims, and calipers before alignment.
- Release cable tension gradually instead of making large adjustments.
- Confirm both wheels spin freely after every repair.
- Wet Seattle conditions can expose marginal brake adjustments quickly.
- Replace damaged pads, bent rotors, worn cables, or faulty hardware promptly.
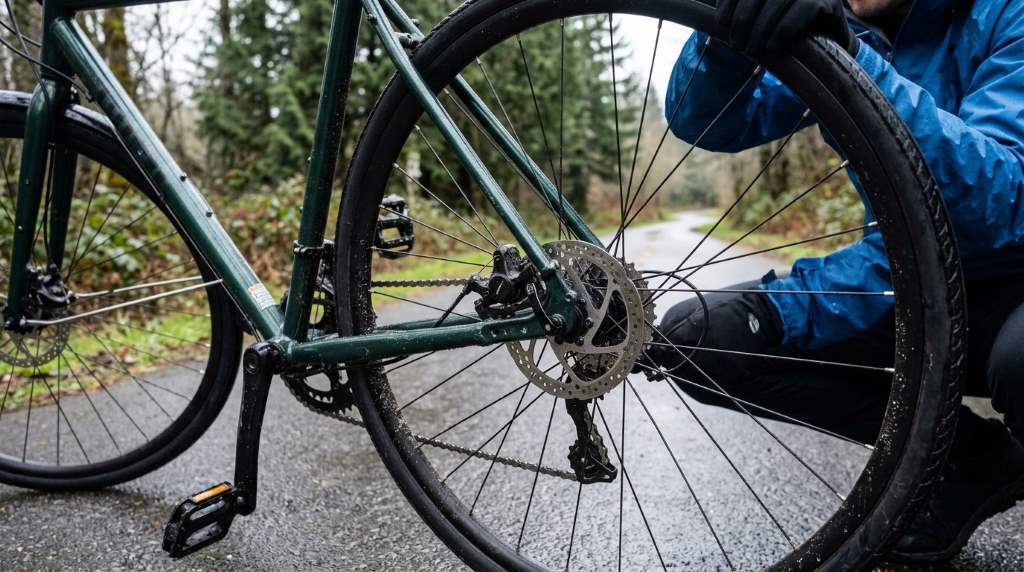
Why Dual Brake Dragging Happens on Seattle Paths
Dual brake dragging means both braking systems create unwanted resistance while you ride. Usually, the pads remain too close to the braking surface after you release the levers. However, cable tension, caliper alignment, contamination, heat, and damaged components can create the same symptom.
Seattle riding adds several practical complications to this problem. Frequent rain can encourage corrosion around cables, pivots, bolts, and exposed hardware. Meanwhile, hills and repeated braking can increase heat and expose poor adjustment sooner.
First, identify whether your bicycle uses rim brakes, mechanical disc brakes, or hydraulic disc brakes. Then inspect both front and rear systems before touching any adjustment screw. Riders who frequently use 26 inch mountain bike trail riding setups should also inspect suspension movement and wheel alignment.
Common Symptoms of Brake Drag
Brake drag usually produces several noticeable signs during an ordinary ride. You may hear scraping, feel resistance, notice heat, or see uneven pad wear.
- Wheel rotation: Lift each wheel and spin it by hand.
- Brake noise: Listen for continuous rubbing after releasing the lever.
- Lever feel: Check whether either lever returns completely.
- Heat: Carefully compare rotor or rim temperatures after a short ride.
- Wheel tracking: Watch for wobbling that changes the brake clearance.
- Pad position: Check whether pads sit evenly beside the braking surface.
Do not assume noise automatically means serious damage. Nevertheless, continuous resistance indicates that the braking system needs inspection.
Inspect Both Brake Systems Before Adjusting Anything
Start with a clean, stable workspace and remove loose dirt around the brakes. Then release each brake separately and spin the corresponding wheel. This simple test tells you whether the drag affects one wheel or both.
Next, squeeze and release the front brake several times. Repeat the process with the rear brake while watching each caliper or pad movement. Both systems should engage firmly and return without lingering contact.
Check the Wheels and Rotors
A slightly bent rotor can touch pads during every wheel revolution. Similarly, a warped rim can push against one brake pad repeatedly. Therefore, spin the wheel slowly and watch the braking surface against a fixed reference point.
Also check whether each wheel sits correctly inside its dropouts or axle mounts. A poorly seated wheel can shift the braking surface toward one pad. On disc-brake bicycles, verify that the rotor sits securely without visible lateral movement.
Inspect Cables, Housing, and Calipers
Mechanical brakes depend on smooth cable movement between the lever and caliper. Frayed cables, crushed housing, rust, or sharp bends can prevent complete brake release.
Pull the cable gently and observe its return movement. If the cable moves slowly or sticks, replacing the affected cable and housing often solves persistent drag. Avoid forcing a seized cable because excessive force can damage other components.
How to Fix Rim Brake Dragging
Rim brakes require precise pad positioning because the pads must clear the rim after braking. First, check whether both pads contact the rim evenly when you squeeze the lever. Then release the lever and confirm that both pads move away completely.
Center the Caliper
Loosen the main mounting hardware slightly if the entire caliper sits off-center. Hold the brake centered while tightening the hardware gradually. Afterward, squeeze and release the brake several times before checking clearance again.
Many rim brakes also include small centering screws near the caliper arms. Turn these screws in tiny increments rather than making large changes. After every adjustment, spin the wheel and reassess the clearance.
Set the Correct Cable Tension
If both pads remain close to the rim, excessive cable tension may cause the problem. Turn the barrel adjuster inward slightly to reduce tension. If necessary, reset the cable at the anchor bolt and begin the adjustment again.
Do not compensate for worn pads by creating extremely narrow clearance. Excessive clearance can reduce braking response when you need immediate stopping power. Aim for smooth engagement followed by complete pad release.
How to Fix Mechanical Disc Brake Drag
Mechanical disc brakes can drag when the caliper, cable, or rotor sits incorrectly. Start by checking rotor alignment and pad clearance before changing cable tension. This sequence prevents you from masking an alignment problem with another adjustment.
Realign the Caliper
Loosen the caliper mounting bolts enough to allow controlled movement. Squeeze the brake lever firmly, then tighten the bolts evenly while maintaining the caliper position. Release the lever and spin the wheel to check whether the rubbing remains.
If the rotor still rubs, inspect its movement during rotation. A consistent rub may indicate poor pad clearance or caliper positioning. A repeating rub at one point often suggests rotor distortion.
Adjust the Mechanical Brake Cable
Turn the barrel adjuster gradually when the cable lacks appropriate tension. If the brake remains tight after releasing the lever, reduce tension instead. Also inspect the cable anchor and housing for restricted movement.
For routine bicycle upkeep, hybrid bike maintenance tips can help establish a broader inspection routine. However, brake adjustment should always follow your specific brake manufacturer’s specifications.
How to Fix Hydraulic Disc Brake Drag
Hydraulic brakes require a different approach because fluid pressure controls the pistons. Do not adjust hydraulic systems like mechanical cable brakes. Instead, inspect piston movement, pad position, rotor alignment, and caliper centering.
Check Piston Retraction
Hydraulic pistons should retract enough to create usable clearance after releasing the lever. Dirt around the piston area can interfere with smooth movement. Carefully cleaning the exposed area can help, but avoid pushing contamination deeper into the system.
If one piston moves while the other barely responds, the caliper may need service. Persistent piston problems can require cleaning, seal inspection, or professional rebuilding. Do not open the hydraulic system unless you understand bleeding procedures.
Inspect Brake Fluid Problems
Fluid contamination can create serious braking problems, although it does not always cause simple pad drag. Never apply household lubricants near brake pads, rotors, or hydraulic components. Use only products approved for the specific brake system.
If you suspect contaminated fluid or damaged seals, stop riding until the system receives proper service. Reliable braking matters more than completing a planned path or commute.
Clean Contaminated Brake Components
Brake contamination can create noise, inconsistent stopping, and poor release behavior. Road grime, chain lubricant, cleaning chemicals, and oily fingerprints can contaminate braking surfaces. Therefore, clean the affected components before assuming mechanical failure.
Clean Disc Brake Rotors
Use a suitable bicycle disc-brake cleaner or isopropyl alcohol on a clean, lint-free cloth. Wipe the rotor thoroughly while avoiding contact with greasy surfaces. Allow the rotor to dry completely before testing the brake.
Never sand a rotor aggressively without understanding its thickness and manufacturer’s limits. Replace a rotor when it shows excessive wear, severe damage, or other manufacturer-defined service limits.
Handle Contaminated Pads Carefully
Brake pads absorb contaminants more readily than metal rotors. Cleaning often fails when oil has penetrated deeply into the pad material. Replace contaminated pads when braking remains noisy or weak after proper cleaning.
Always inspect new pads before installation. Confirm that the pad compound matches your brake system and intended riding conditions.
Test Your Bicycle Safely After Repairs
Never return directly to a busy Seattle path after making brake adjustments. First, test the bicycle in a quiet, controlled area with plenty of stopping space. Start slowly and apply each brake independently.
Check whether both wheels spin freely between braking tests. Then perform several moderate stops and listen for persistent rubbing. If drag returns after braking, stop and inspect the system again.
A Practical Post-Repair Test
- Step 1: Spin the front wheel without applying the brake.
- Step 2: Apply the front brake several times.
- Step 3: Release the lever completely and spin again.
- Step 4: Repeat the same process for the rear brake.
- Step 5: Perform slow-speed braking in a clear area.
- Step 6: Inspect both systems for renewed rubbing or unusual heat.
This sequence separates adjustment problems from issues that appear only under braking force. If either wheel continues dragging, do not increase riding speed until you identify the cause.
Seattle Path Conditions That Can Expose Brake Problems
Seattle paths can combine rain, puddles, debris, slopes, and frequent pedestrian interactions. These conditions demand predictable braking rather than maximum braking power alone. Consequently, small mechanical issues deserve attention before longer rides.
After riding through heavy rain, allow components to dry when possible. Wipe exposed metal surfaces and check for unusual rust or cable stiffness. Regular inspections become especially useful when your bicycle stays outdoors.
Commuters can also benefit from a maintenance routine built around their riding frequency. A cruiser bike for commuting still needs the same disciplined brake checks as a performance bicycle.
When Wet Conditions Increase Risk
Water can temporarily change braking behavior on rims and discs. Dirt carried by water can also accumulate around moving components. Therefore, listen for new rubbing after wet rides and investigate changes promptly.
Do not confuse temporary wet braking noise with continuous mechanical drag. Persistent rubbing after the bicycle dries usually deserves a closer inspection.
When You Should Stop Riding and Get Professional Service
Some brake problems require more than home adjustment. Stop riding when you find a cracked rotor, damaged caliper, severely frayed cable, leaking hydraulic fluid, or loose mounting hardware.
Professional service also makes sense when repeated adjustments fail to eliminate the drag. A qualified bicycle technician can inspect alignment, piston movement, cable routing, and component wear together. That approach often prevents repeated trial-and-error adjustments.
Warning Signs That Demand Attention
- Brake lever pulls unusually close to the handlebar.
- Rotor shows cracks, severe scoring, or significant distortion.
- Brake fluid appears around hydraulic components.
- Cable strands appear broken or badly corroded.
- Brake components move visibly during hard braking.
- One wheel remains difficult to rotate after releasing the brake.
Never prioritize convenience over stopping performance. A short service appointment can prevent a much more serious riding problem later.
Prevent Dual Brake Dragging From Returning
Prevention starts with consistent inspections rather than emergency adjustments. Check brake operation before demanding rides, especially after wet weather or transportation. Keep braking surfaces clean and avoid unnecessary lubricant near brake components.
Also monitor pad wear before the material becomes critically thin. Replace worn components according to the manufacturer’s service guidance. Keeping a simple maintenance record can reveal patterns before they become failures.
For riders using multiple path types, adjust your inspection frequency around conditions. Frequent rain, hills, heavy loads, and stop-and-go riding can justify more frequent checks.
Final Verdict: Fix the Drag Before Your Next Ride
The best fix for dual brake dragging starts with diagnosis, not random adjustment. Inspect wheel alignment, brake clearance, cables, calipers, pads, rotors, and hydraulic components systematically. Then correct the specific cause and verify free wheel rotation.
If simple centering and tension adjustments do not solve the problem, stop experimenting. Have a qualified bicycle technician inspect the braking system before returning to busy paths. Take five minutes before your next Seattle ride and perform the complete brake-release test described above.
Frequently Asked Questions
Why are both bicycle brakes dragging?
Both brakes usually drag because of excessive cable tension, poor alignment, contamination, or restricted caliper movement.
Can wet Seattle weather cause brake dragging?
Wet conditions can increase contamination and corrosion, which may restrict brake movement and contribute to persistent rubbing.
Should I ride with slightly rubbing brakes?
No, persistent brake rubbing can increase heat, reduce efficiency, accelerate wear, and compromise predictable braking.
How do I know whether my rotor is bent?
Spin the wheel and watch the rotor against the brake pads for consistent side-to-side movement.
When should I replace brake pads?
Replace brake pads when they reach the manufacturer’s minimum thickness or show contamination, damage, or severe uneven wear.




Leave a Reply